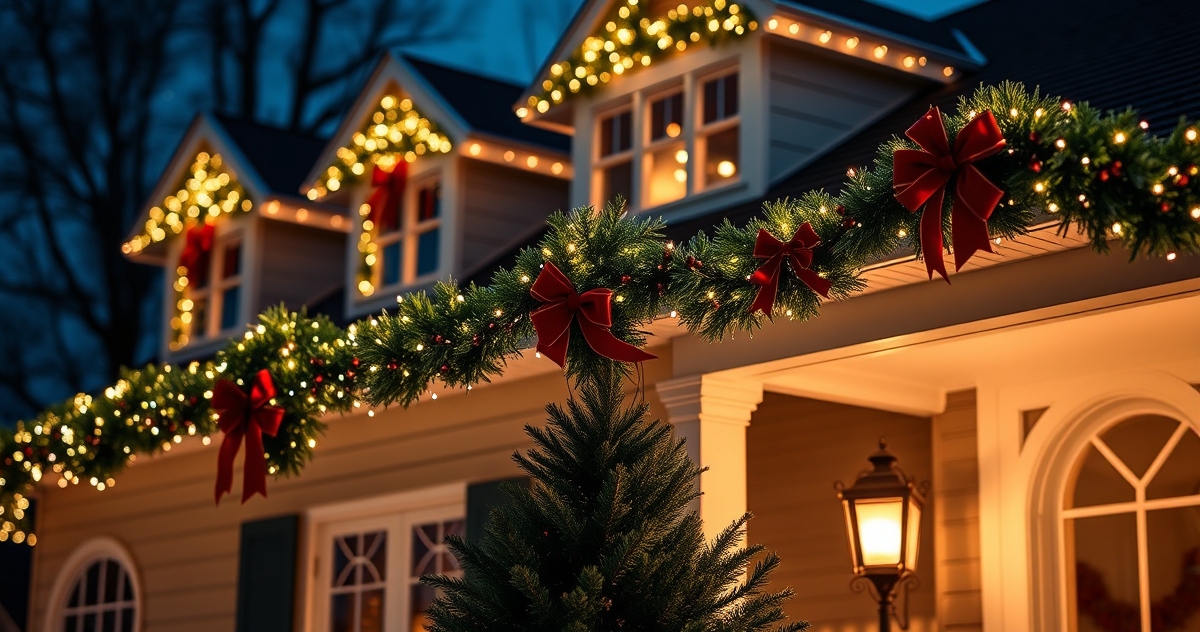
The gentle curve of pre-lit garland cascading down a staircase banister, punctuated by perfectly positioned red velvet bows and twinkling warm white mini lights — this is the hallmark of professional holiday decoration. While many homeowners simply drape garland wherever it fits, mastering the art of garland styling transforms ordinary greenery into breathtaking focal points that elevate your entire Pennsylvania property.
Understanding Garland Types and Their Best Applications
Professional garland styling begins with selecting the right foundation. Pre-lit garlands save installation time and ensure even light distribution, making them ideal for high-traffic areas like front entrances and main staircases. Plain garlands offer more flexibility for custom lighting schemes and work beautifully when you want to integrate specific color combinations.
The density and needle type matter significantly. Noble fir garlands provide a full, luxurious appearance perfect for grand entrances, while mixed needle varieties offer texture variation that photographs beautifully. For Pennsylvania's fluctuating winter temperatures, choose garlands with sturdy branch construction that won't shed excessively during freeze-thaw cycles.
Length planning prevents the amateur mistake of stretching garland too thin. Professional installations typically use 1.5 times the linear measurement for proper draping depth. A 10-foot banister requires 15 feet of garland to achieve that graceful, swooping curve that distinguishes professional work from flat, tight installations.
Mastering Doorway and Entrance Draping Techniques
Front door garland installation sets the tone for your entire holiday display. The classic over-and-around technique involves securing garland above the door frame, allowing it to cascade naturally on both sides while maintaining symmetrical curves. This creates the welcoming embrace effect that draws visitors toward your entrance.
For double doors, the center-point anchor method works beautifully. Secure the garland's midpoint above the center of the doorway, then drape each side independently. This technique allows you to adjust each side's curve individually, accommodating uneven door frames or architectural details common in Pennsylvania colonial homes.
Professional installers always consider sightlines. Garland should enhance, not obstruct, door hardware or architectural features. The lowest point of your drape should clear the door by at least 12 inches, ensuring easy passage while maintaining visual impact. For covered porches, extend garland along porch columns or railings to create a cohesive entrance display.
Window treatments require different considerations. Frame the window opening rather than covering it, using the natural architecture as your guide. Garland should follow the window's proportions — wider for large picture windows, more delicate for smaller casement windows typical in Pennsylvania Dutch country homes.
Professional Railing Installation Methods
Stair railings and porch railings present unique challenges that separate amateur from professional installations. The spiral wrap technique creates elegant, continuous coverage by winding garland around the entire railing length. Start at the bottom, securing with zip ties every 18 inches, and maintain consistent spacing as you spiral upward.
For traditional straight railings, the scalloped drape method creates visual rhythm. Secure garland at regular intervals — typically every 3-4 feet — allowing gentle curves between anchor points. This technique works especially well on long front porch railings, breaking up the linear span with graceful undulation.
The professional secret lies in hidden attachment points. Use clear zip ties on the back side of railings, or invest in specialized garland clips that grip without damaging painted surfaces. Never use staples or nails on finished railings — Pennsylvania winters are harsh enough on exterior surfaces without adding unnecessary penetrations.
For wrought iron railings, work with the existing design elements. Weave garland through decorative scrollwork or secure at natural junction points. The goal is integration, not coverage — let the ironwork show through while the garland adds seasonal softness to hard metal lines.
Strategic Bow Placement for Maximum Visual Impact
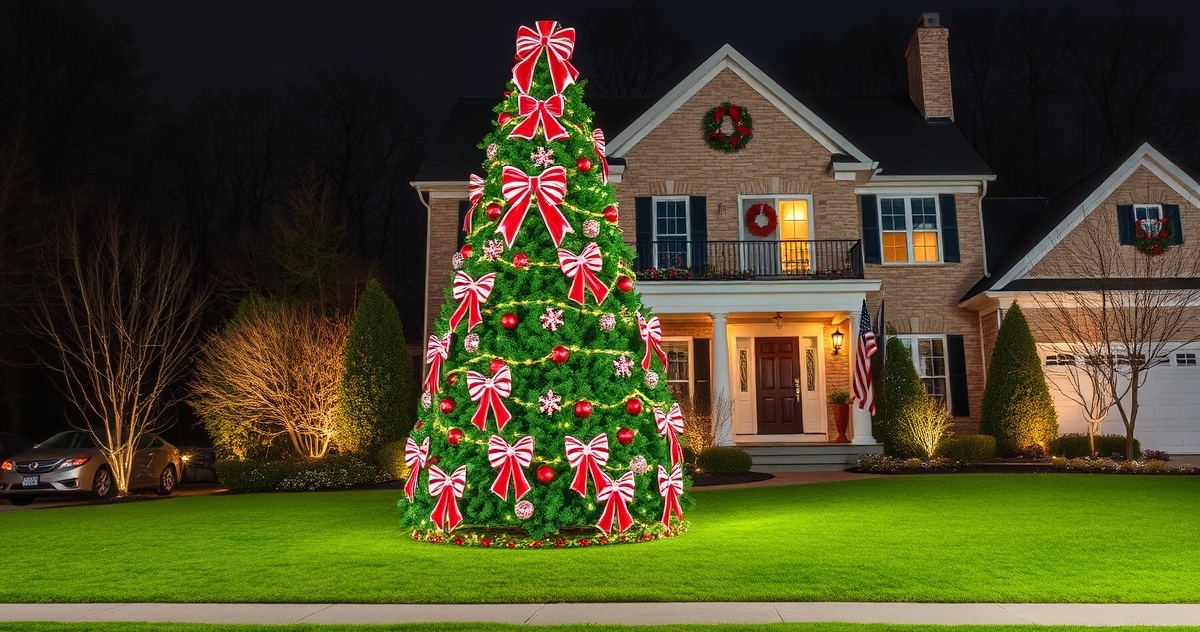
Red velvet bows serve as the punctuation marks in garland design, and their placement determines whether your display looks professionally coordinated or randomly assembled. The rule of thirds applies here — avoid centering bows directly in the middle of garland spans. Instead, position them at approximately one-third intervals for more dynamic visual flow.
Size progression creates depth and hierarchy. Use larger 12-inch bows as primary focal points at main entrances or stair landings, medium 8-inch bows for secondary locations, and smaller 4-inch accent bows to fill gaps without overwhelming the display. This varied sizing mimics how the eye naturally processes visual information.
Gold satin bows offer elegant alternatives for more sophisticated color schemes. Mix metallic and traditional colors thoughtfully — perhaps red velvet bows on the front entrance garland with gold satin accents on side porch installations. This coordination technique ties multiple garland installations into a cohesive whole-house design.
Bow positioning relative to light sources matters significantly. Place bows where they'll catch and reflect light — near mini light clusters or where outdoor fixtures will illuminate them during evening hours. Avoid positioning bows in shadow pockets where they'll disappear after dark.
Light Integration Techniques for Layered Beauty
Successful light integration transforms garland from simple greenery into luminous holiday artwork. Warm white mini lights provide the classic, elegant foundation that complements most architectural styles throughout Pennsylvania. The key lies in density — professional installations typically use 100 lights per 6 feet of garland for proper coverage without overwhelming brightness.
The weaving technique ensures even light distribution. Rather than simply laying light strings on top of garland, weave them through the branches, securing deeper lights toward the back and bringing accent lights forward. This creates depth and prevents the flat appearance of surface-mounted lighting.
For traditional red and green color schemes, alternate light colors in sections rather than mixing randomly. Create rhythm by using warm white as the primary color with red and green accents clustered near bow locations. This technique draws the eye to key design elements while maintaining overall cohesion.
Consider power source locations during planning. Professional installations often require multiple extension points, and proper GFCI protection is essential for Pennsylvania's winter weather conditions. Plan your electrical needs before installation begins, not after you've completed the decorating work.
Timer integration allows your garland displays to automatically illuminate during peak viewing hours. Program lights to turn on at dusk and off at a reasonable evening hour, typically around 10 PM for residential installations. This timing maximizes impact while respecting neighborhood courtesy expectations.
Advanced Styling Techniques and Professional Secrets
Layering different garland types creates sophisticated texture variations that distinguish professional installations. Combine traditional pine garland with eucalyptus garland for silver-green color variation, or add berry sprays for natural color accents that complement your lighting scheme.
The professional installation sequence matters significantly. Always install garland first, then add lights, and finish with bows and accessories. This order prevents damage to delicate elements and allows proper securing of each layer. Rushing this process or attempting to do everything simultaneously results in uneven, amateur-looking displays.
Weather protection extends your installation's beauty throughout the Pennsylvania winter. Choose UV-resistant zip ties that won't become brittle in cold temperatures, and position garland to shed snow and ice naturally. Avoid horizontal surfaces where snow accumulation can damage branches or overload attachment points.
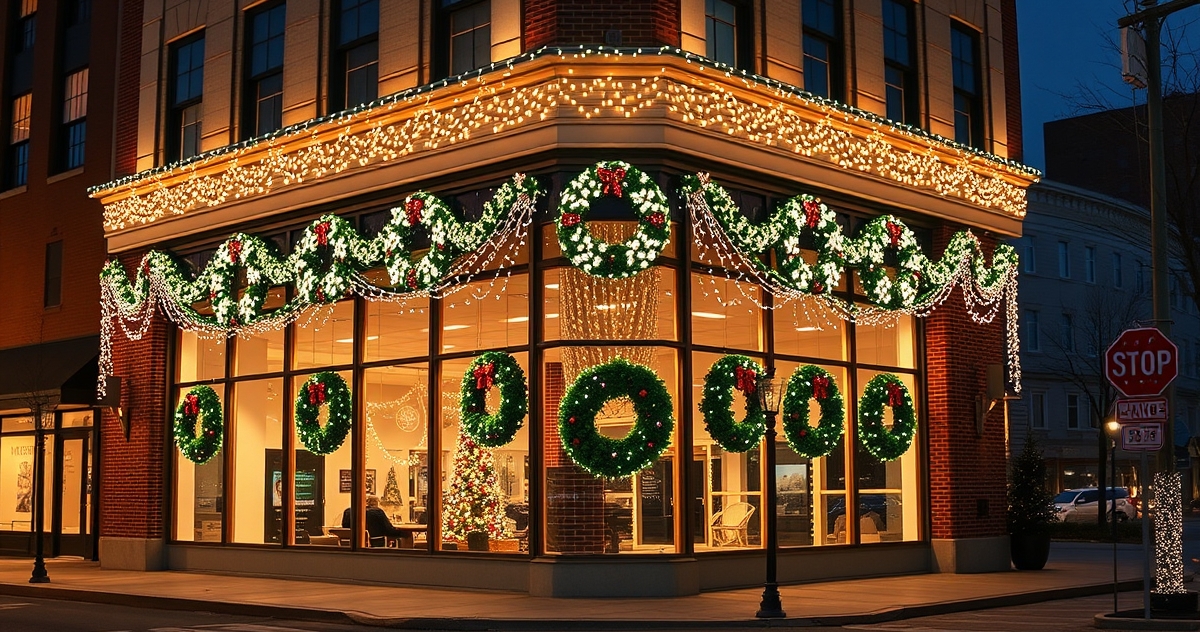
For commercial installations or grand residential displays, consider garland maintenance schedules. Mid-season refreshing might include repositioning bows that have shifted, replacing burned-out bulbs, or adjusting garland that has settled. This attention to detail maintains the crisp appearance that characterizes professional work.
Frequently Asked Questions
How much garland do I need for my front porch railings?
Measure your railing length and multiply by 1.5 for proper draping depth. A 20-foot porch railing typically requires 30 feet of garland for professional-looking curves and fullness.
What's the best way to secure garland without damaging painted railings?
Use clear zip ties on the underside of railings or invest in specialized garland clips designed for painted surfaces. Avoid staples, nails, or wire that can chip paint or create rust stains.
Can I mix different light colors in the same garland installation?
Yes, but use intentional color blocking rather than random mixing. Create sections of warm white with red and green accents near focal points like doors or bow locations for cohesive visual flow.
How do I prevent garland from looking flat against railings?
Use the spiral wrap technique or create deliberate scalloped drapes between anchor points. Weave mini lights through the branches rather than laying them on top to add depth and dimension.
When should I install garland to ensure it looks fresh through the holidays?
Install garland during Thanksgiving weekend or the first week of December in Pennsylvania. High-quality garland maintains its appearance for 6-8 weeks in typical winter conditions.
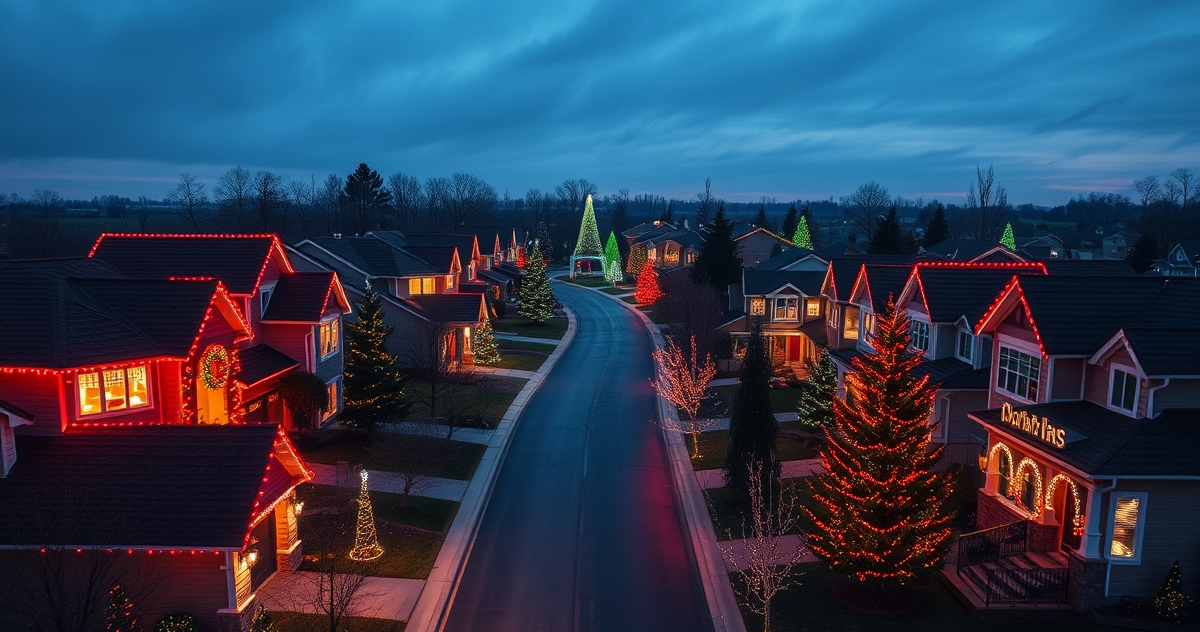
Professional garland styling transforms your Pennsylvania home into a holiday masterpiece that captures the warmth and elegance of the season. While the techniques require patience and attention to detail, the results create lasting impressions that welcome guests and spread holiday joy throughout your community. For homeowners seeking flawless garland installations with perfect draping, integrated lighting, and strategic bow placement, professional holiday decorators bring years of experience and specialized techniques to ensure your display exceeds expectations. Whether you're planning elegant residential decorations or need custom design services for unique architectural features, expert installation guarantees results that capture the true spirit of Pennsylvania holiday traditions.